We have been proceeding at a good steady clip with the new floor framing.
Here are some photos and descriptions:
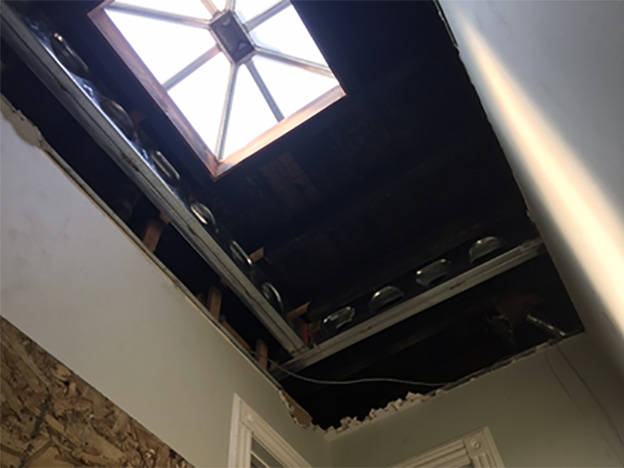
The photo above was taken looking up from the existing stairwell. The joist that is running across from the right side is called a ‘trimmer’ and it will dictate where the new staircase can go. This trimmer is towards the rear of the house. The joist that you can see more of is called a ‘header’ and it runs parallel to the staircase. The space left between the header and the party wall on the right is where we can frame our stair.
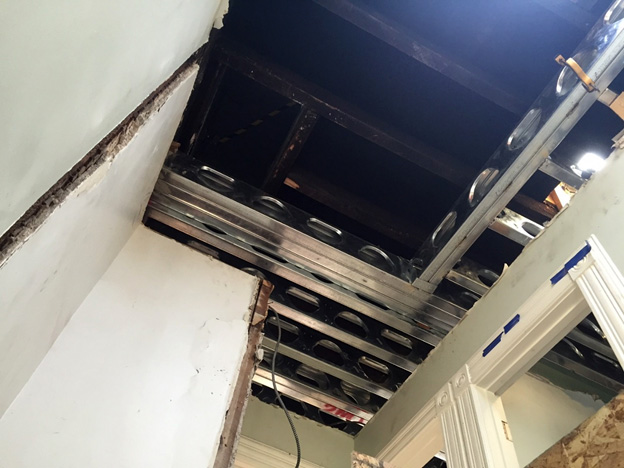
This picture above was taken from the same spot and it shows the same header running from the upper right corner of the picture into the front trimmer. The trimmer in this case is a triple-beam- it is not only supporting the stair opening but will also be directly under the front wall of our addition. The joists beyond this trimmer are set 2” lower than the trimmer as they will be the framing for our new front deck which we want to pitch toward a drain and generally want lower than our interior floors.
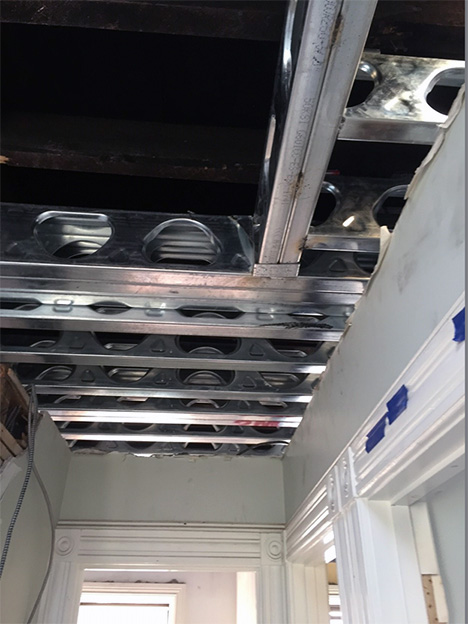
Above is a closer-up photo of the same header / trimmer connection.
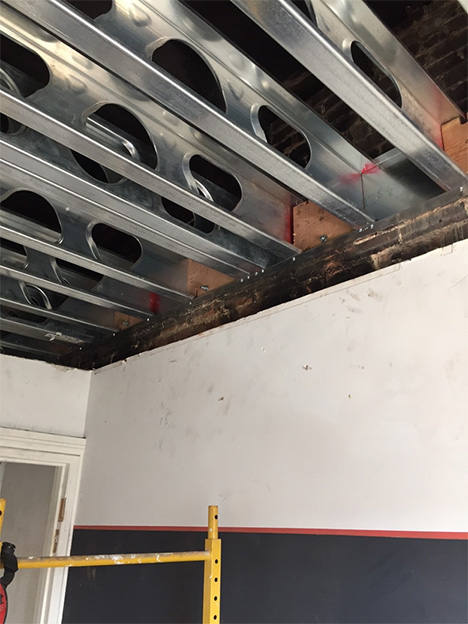
These joists in the front room are attached to the brick wall using a ledger. The blocks of wood between the joists show the ends of the embedded bolts used to attach the ledger to the party wall.