Brownstone Facade Restoration

Brownstone Restoration – New Windows

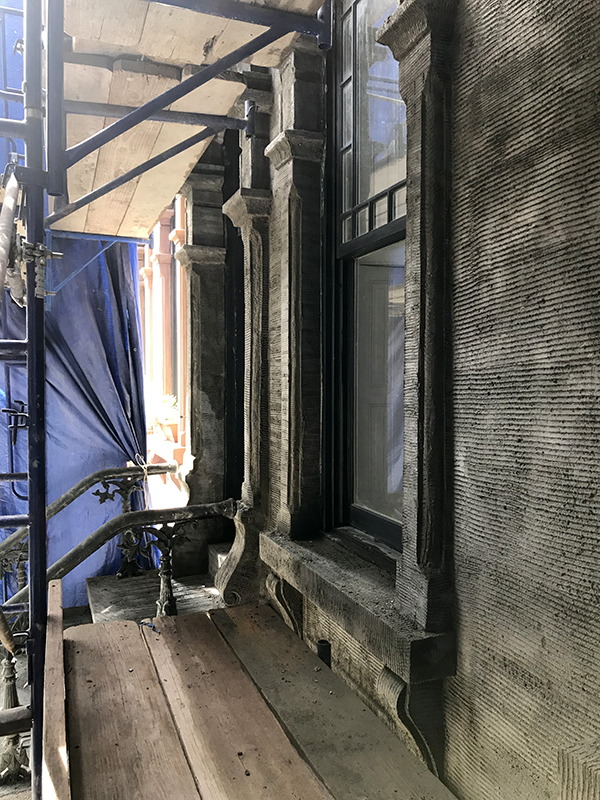
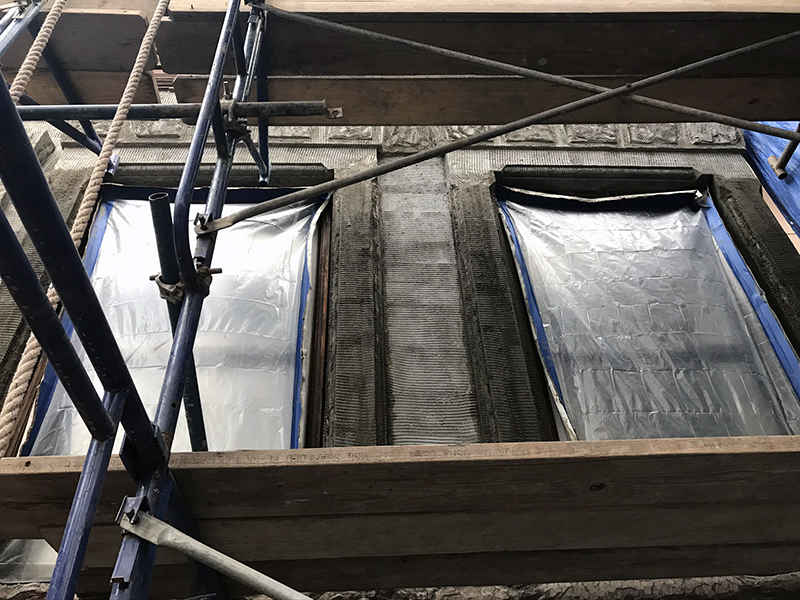
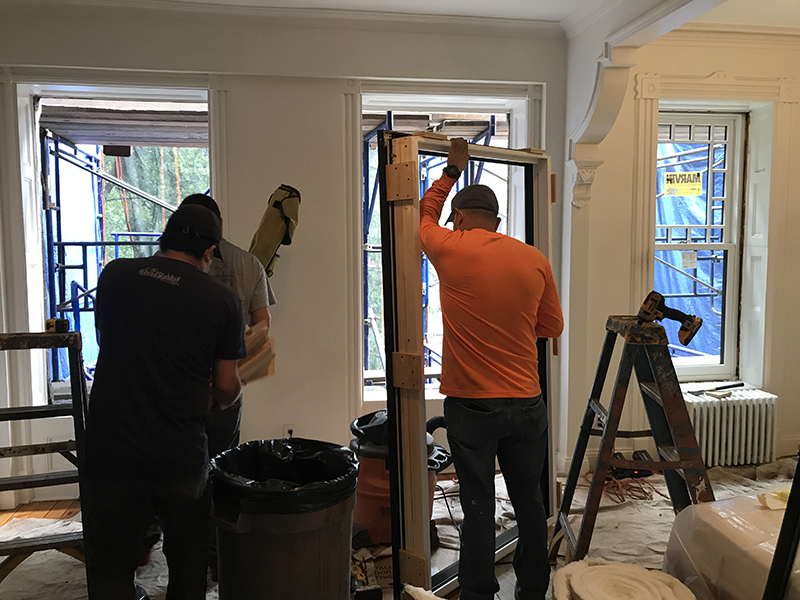
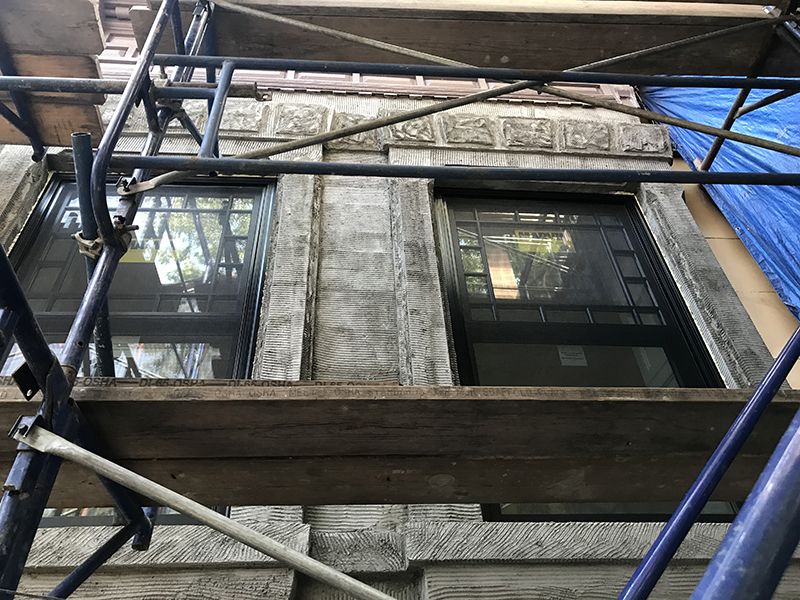
The new Marvin windows were installed on the 2nd floor and the garden level last week. Timing and coordination was critical since the windows had to be installed within a specific time frame which is after the scratch coat is completed and before the finish coat is applied. We were lucky that the window order was placed early enough so that the fabrication was not affected by the pandemic. These windows typically have a lead time of approximately 8 weeks. The windows had already been delivered to the window dealer in Brooklyn prior to the shutdown. A team of 4 installed the 5 new windows in just one day.

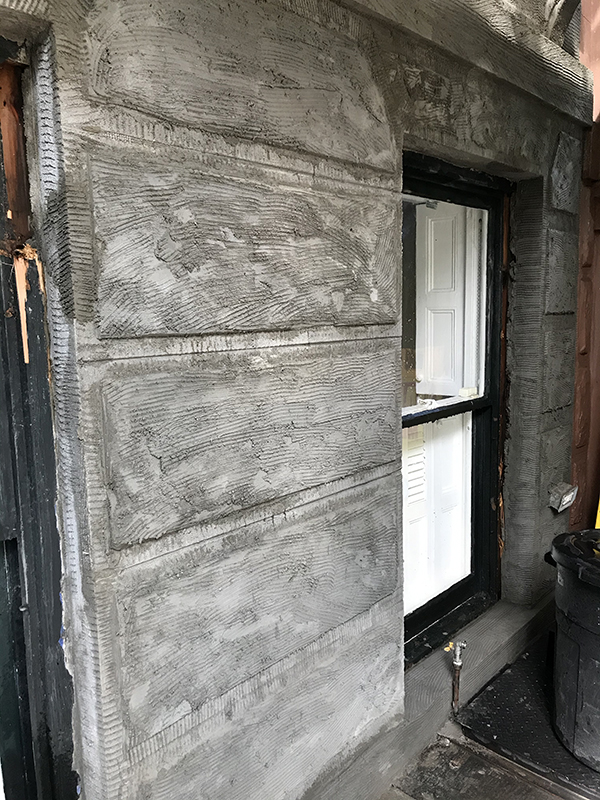
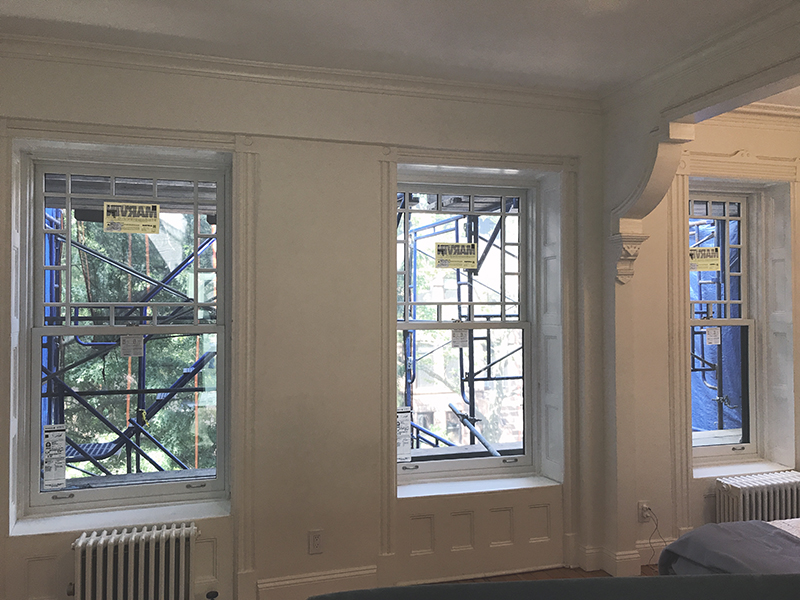
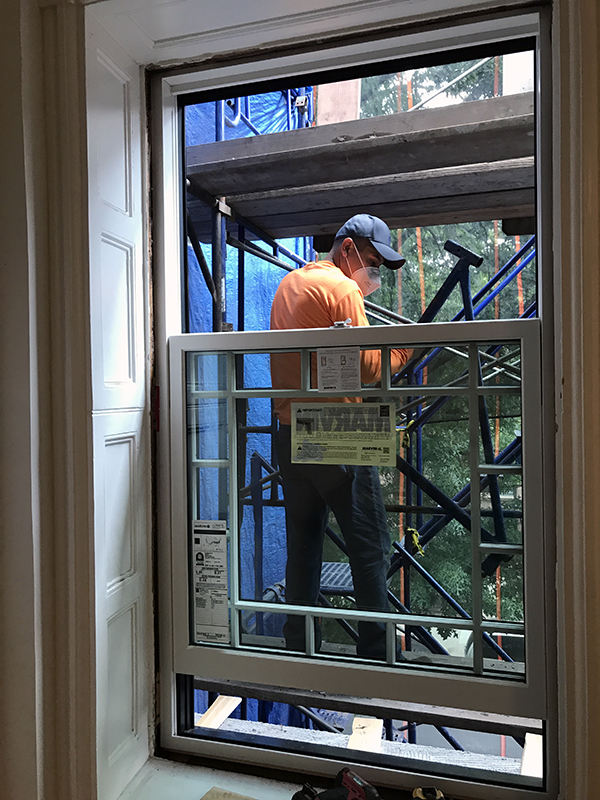
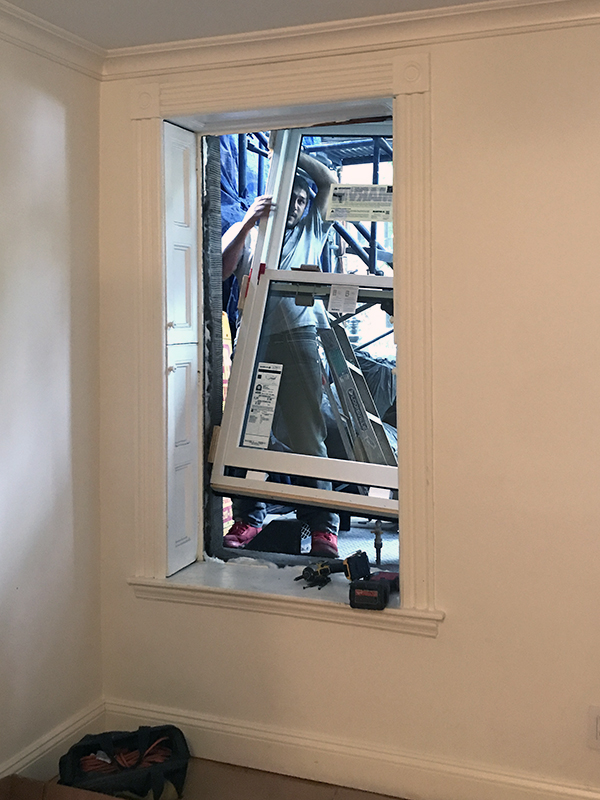
Below are a few before and after photos of the master bedroom windows.


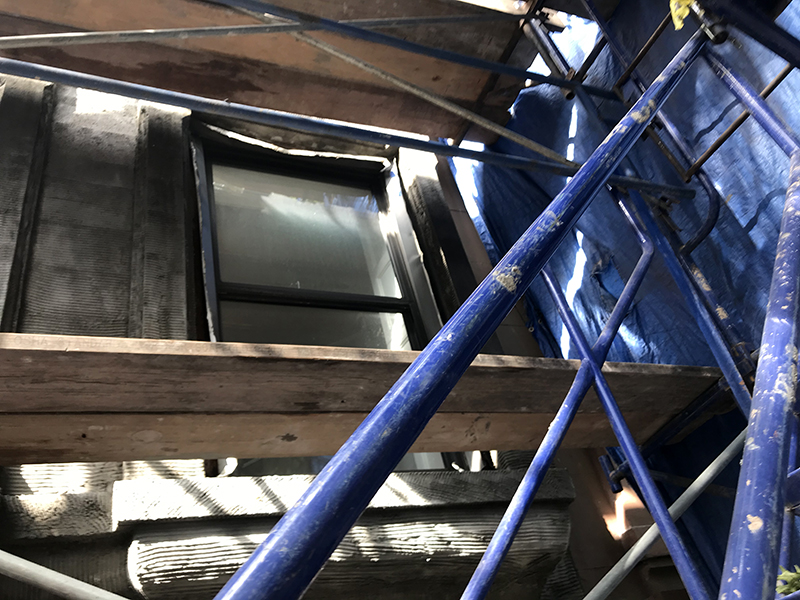
Below is a photo of the exterior side of an upper sash. The exterior is clad in aluminum which is more durable than painted wood. The interior of the window is painted wood. I selected a stock black color for the exterior cladding, but Marvin offers some other color options as well. For the interior, I selected a stock factory painted white, but you can order the windows to be factory primed and then site painted match your exact trim color.

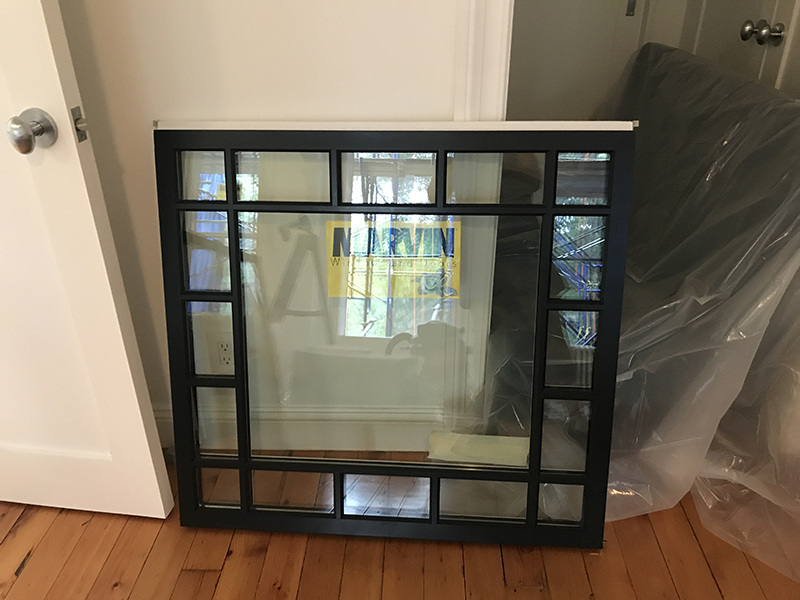
And here is the inside view of the sash.

Traditionally, the divided lites in a window sash would be comprised of smaller individual panes of glass held together by mullions. For energy efficiency, these windows have simulated divided lites that replicate the look of real divided lites. Simulated divided lite bars are adhered to the exterior on both sides of the double pane glass. Spacer bars are inserted on the inside in between the glass panes to make the faux mullions look solid.

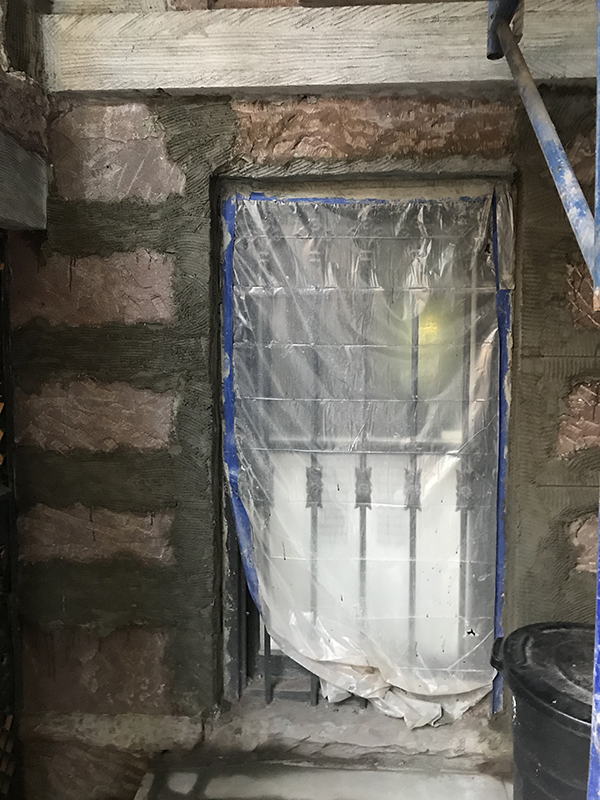
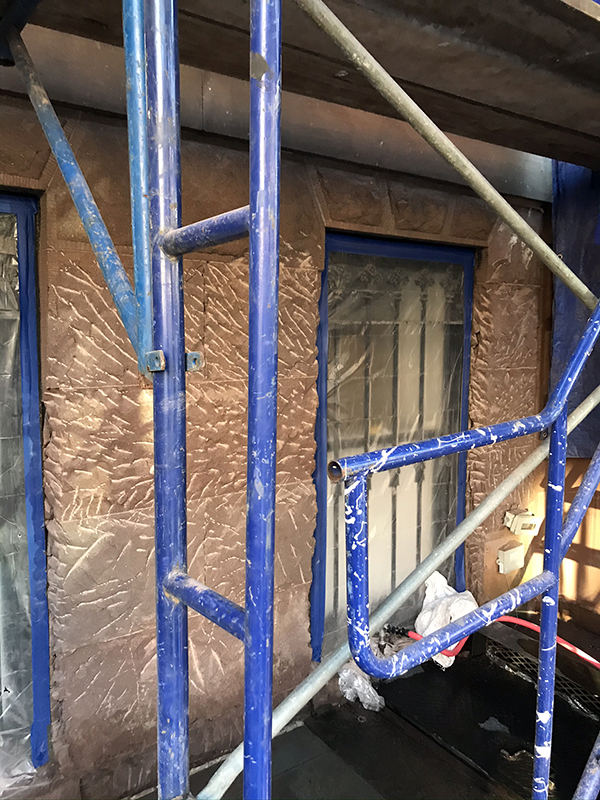
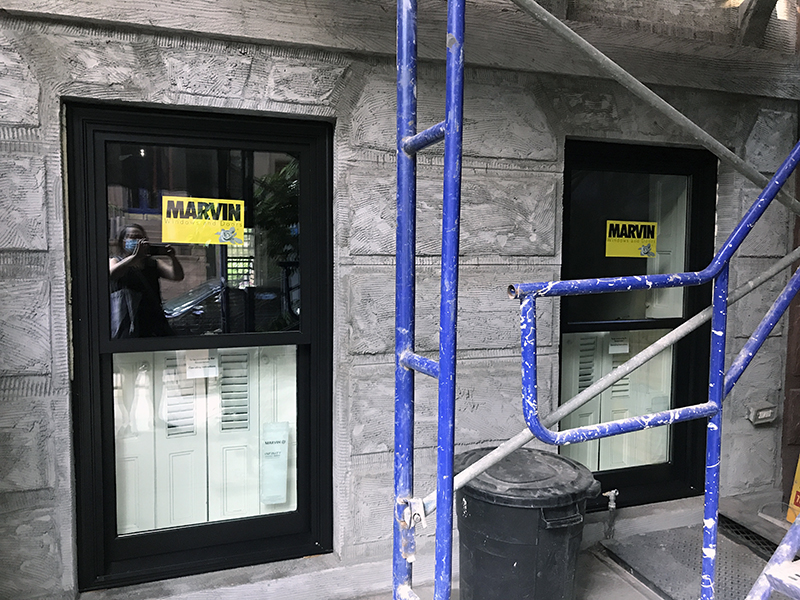
The windows at the garden level are plain double hung windows and don’t have divided lites. The iron security bars were cut off so that the windows could be installed from the outside. The bars will be reinstalled later. Since the windows were installed from the outside, the pocket shutters on the inside were not damaged.

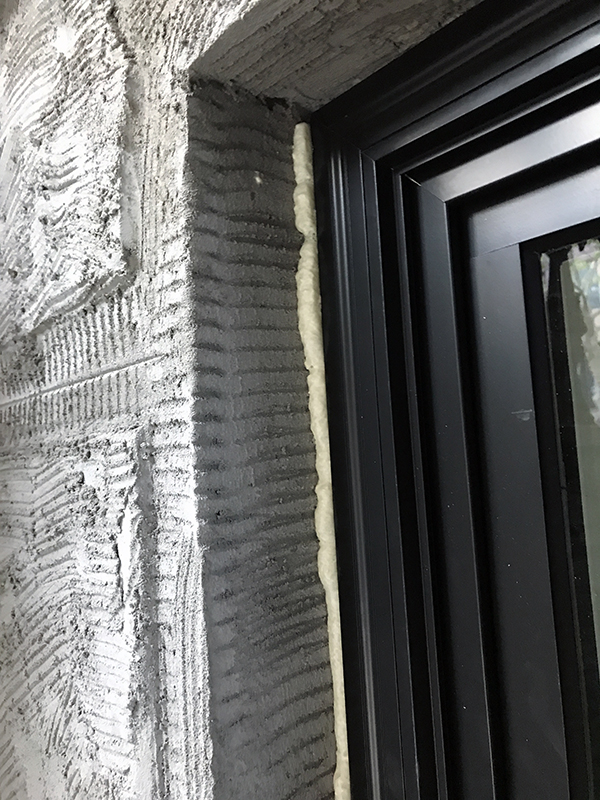
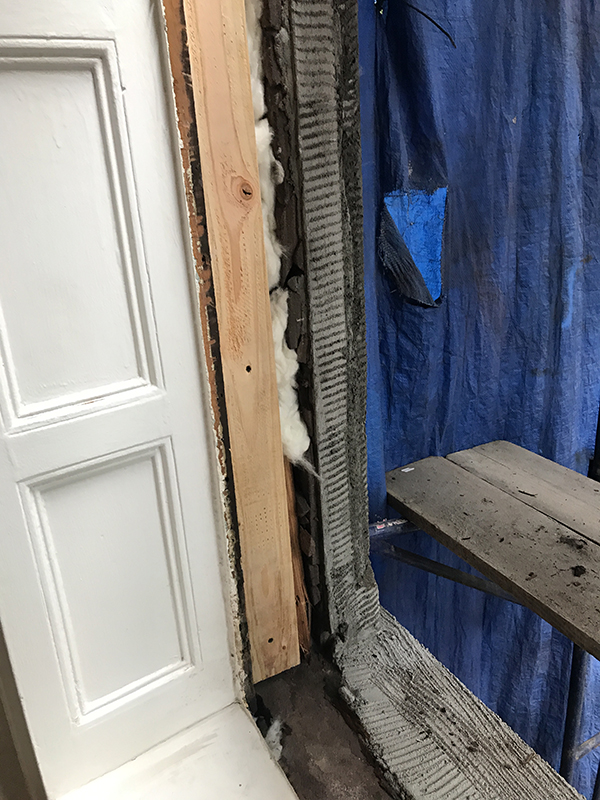
Spray foam insulation was added around the perimeter of the windows.

Brownstone Restoration – Scratchcoat complete

The masons finished applying the scratch coat earlier this week and the facade will be left alone to cure for about 4 weeks. During this down time, the new windows will be installed and the metal work can begin. Someone came by to scrape off the old paint on the cornice as well.

Below are photos of what the facade and stoop look like right now.

The metal security bars at the garden windows (below) were cut off in preparation for the window installation.

Brownstone Restoration – Work Resumes


After almost 3 months of pause due to Covid-19 restrictions, the masons came back to work on June 8th. With Phase 1 reopening, non-essential construction was finally allowed to resume in New York City. We had been living behind scaffolding and plastic sheets covering the windows this whole time, so we were very happy to have the work start up again.

Prior to the work stoppage, the masons had applied the scratch coat to the top floor and were halfway done with the parlor level. On Monday, the they picked up where they left off in March and are now working on the parlor level and basement level scratch coat.

The masons estimate that they have about 2 and a half weeks worth of work left on the scratch coat. After that, they will leave for about one month while the scratch coat cures.

Brownstone Restoration – Scratch Coat


In the last week, the masons have started to apply the scratch coat. After they chipped off about 1 1/2″ of the damaged brownstone, they built the surface back up by applying layers of the scratch coat. Before they applied the scratch coat, they first applied a slurry coat as bonding agent. The scratch coat is composed of portland cement, lime, sand and water that was mixed on site. In order for the scratch coat to harden properly, it needs to cure for at least 21 days with temperatures above 40°. The masons started applying the scratch coat from the top down. Each scratch layer is scored for better adhesion.

Brownstone Restoration – More Demolition

The dumpster arrived today. This is messy work, so I’m grateful that my contractor is doing his best to clean up the work site at the end of each day.

During demolition, the outer layers of the damaged brownstone is removed with jackhammers until they reach the inner layers of undamaged stone.

Brownstone Facade Restoration - demo

Brownstone Restoration – Demo Starts

The demolition started today.  There are 3 masons assigned to the job and they will be making a lot of noise for the next few days.  I have a hose bibb and an outlet at the front of the house, which is great because I won’t have to string a power cord out the window.  The contractor wanted a second outlet though since the jack hammers take up a lot of power.  We strung a power cord through the cellar hatch to get to a second outlet.

Brownstone Restoration – Scaffolding is up

The scaffolding was installed today.  The contractor will return later to add more protection at the sides of the netting and cover the windows and doors with plastic.

Brownstone Restoration – Window Replacement

Parlor windows:
When I renovated the interior of my house 9 years ago, I only replaced the two parlor windows with replicas of the original design. The previous owners had kept the original single pane windows because they didn’t want to replace them with aluminum windows as they did in the rest of the house. The original windows were too drafty and not in good shape so we replaced them with custom Marvin windows that had insulated glass.  You can see the portion of the window sill that fell off in the picture below.

2nd floor windows:
I kept the 3 aluminum windows on the 2nd floor during the previous renovation, but decided that I should take this opportunity to replace them with replicas of the original design for the upper windows.  My next door neighbor still has their original windows, so I was able to copy them. The best to install new windows is during the time when the scratch coat is curing and before the finish coat of brownstone is applied.  The lead time for custom Marvin windows is about 8 weeks, so I need to order these as soon as possible so that the windows don’t delay the brownstone timeline. The window vendor measured the existing openings and prepared shop drawings shown below.

I double checked the dimension of the parlor windows to make sure that the details of the 2nd floor windows would match the details of the parlor windows.

Garden floor windows:
The garden windows are single pane originals and have been painted shut, so I have never been able to open them.  In order to replace these windows, the window installer said that the bars would have to be removed.  The bars are going to be cut out anyway for the brownstone renovation, so it makes sense to take this opportunity to replace windows too.  We will replace them with Marvin aluminum clad windows. The exterior aluminum cladding is good for durability and the inside wood frame will be painted and the glass will be insulated.  After the windows are installed, the bars will be re-installed. These windows will not have divided lites like in the upper windows.

Brownstone Restoration – Scope Creep

Once I knew that I was going to redo the brownstone, the inevitable scope creep happened.  If I was going to replace the brownstone, it made sense to paint the cornice, repair and paint the iron work, replace windows and replace doors all at the same time.  The rear extension at my house also needed some masonry repair work.

The brownstone contractor included the cornice painting and iron work in his scope, but I’ll have to coordinate the windows and doors with someone else.

Brownstone Restoration – Who to Hire?

Soon after I moved into my house, a neighbor down the block had his brownstone façade restored.  I passed by the house everyday on my way to work and kept an eye on the process.  The façade turned out beautifully and I made a mental note of the contractor.  Between then and now, 3 other neighbors on my block have used the same contractor to restore their facades. So when it came time for me to hire a brownstone restoration contractor, I knew I wanted to work with them too. 

Brownstone façade restoration is seasonal work, so I was lucky that the contractor’s spring schedule was not yet booked up.  I specifically requested the same mason who worked on the house down the block since a lot of the façade details are the same.  While demolition can happen at any time, the curing process for the slurry and scratch coat needs to occur during warm weather. 

The whole brownstone project should take about 3-4 months. Below is a rough outline of the steps:

  1. Scaffold goes up
  2. Demo takes about a week to a week and a half
  3. Slurry, scratch coat and curing takes about 25 days
  4. Final coat takes about 20 days
  5. Wait 8-9 days before power washing

My house is not in a landmarked district, so I did not have to get Landmarks approval for my brownstone facade project. However, houses that are within a landmarked district will need to get approval from the Landmarks Preservation Commission for the windows, doors and brownstone color before work can start.