Although the new double doors were installed a few weeks ago, it took up until now to finish all the details associated with the doors.

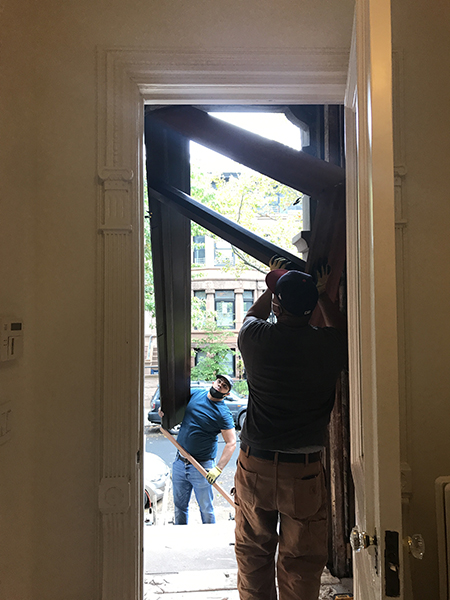
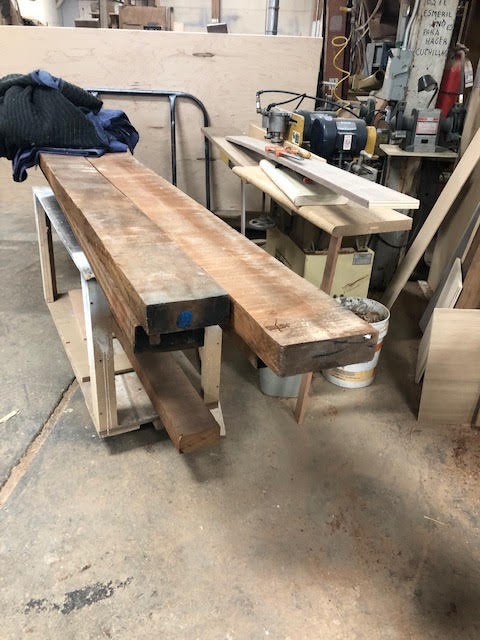
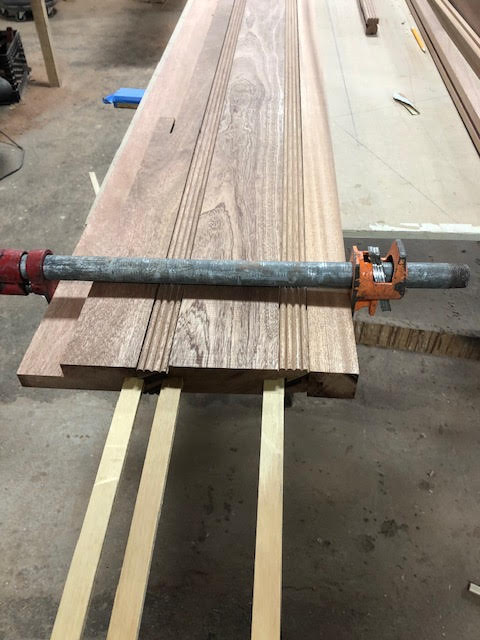
Below are some installation photos.
We replaced the sconces and doorbell in the same locations, so we didn’t change out the electrical j-boxes. The cavity behind the door jamb got filled with insulation.

It was difficult to get the door jamb into place and in the process, a chunk of the brownstone at the header chipped off. The masons will come back later to repair the damage. Previously, we had discussed whether the new doors and jambs should be installed before or after the brownstone finish coat. If we had installed the doors first, that may have prevented the brownstone finish coat from getting damaged. However, the acid power wash on the finish coat might have damaged the doors.

Each door is 2′-0″ x 9′-4″ x 2 1/2″ and very, very heavy.

After the doors were installed, there was a noticeable gap between the new door jamb and the edge of the brownstone surface. While the doors were square, the opening was not, which is not a surprise since the house is over 100 years old. We decided that it made more sense to fill the gap with wood trim rather than with brownstone.
The unlaquered brass hardware is very shiny now, but will naturally develop a warm patina over time. There are some chemical products that can help speed up the tarnishing process which I might consider using. At first, I didn’t want to install kick plates because the wood doors look so nice without them, but in the end, functionality won out and I installed kick plates.

For house numbers, I just ordered a decal from Etsy. It’s obviously not as nice as painted gold leaf house numbers, but from far away, you can’t really tell that it’s just a decal and looks pretty good.
The original white marble door saddle was cracked and very dirty, so we replaced it with a new honed Absolute Black granite saddle. The saddle was just set yesterday, so the installers will come back later to drill in a hole for the door floor bolt.


