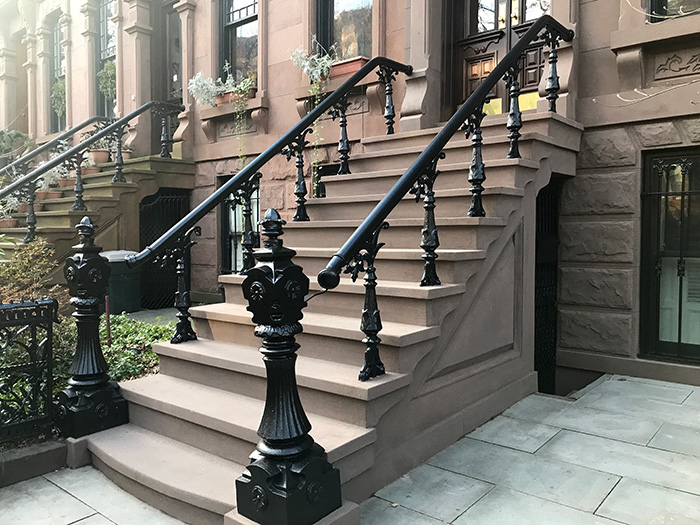
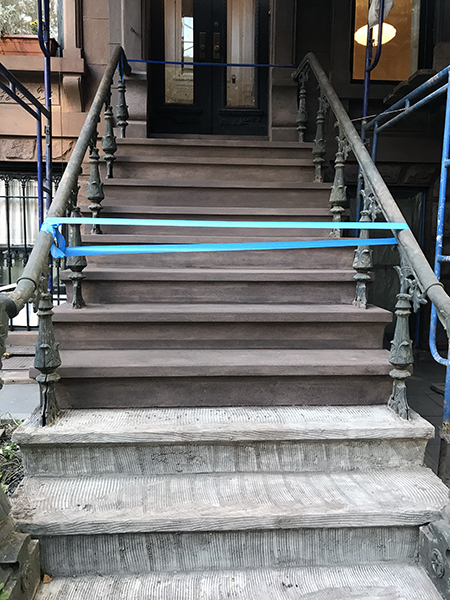
After two coats of black semi-gloss paint on the stoop railing and the gate, the facade restoration project is finally complete. What was supposed to be a 4 month project ended up taking 11 months to finish. The construction shutdown due to Covid started when we were about a month in to the renovation. It was pretty inconvenient living behind scaffolding and plastic sheathing while we were all sheltering at home, but with time, the stress and pain from the renovation will hopefully fade away.
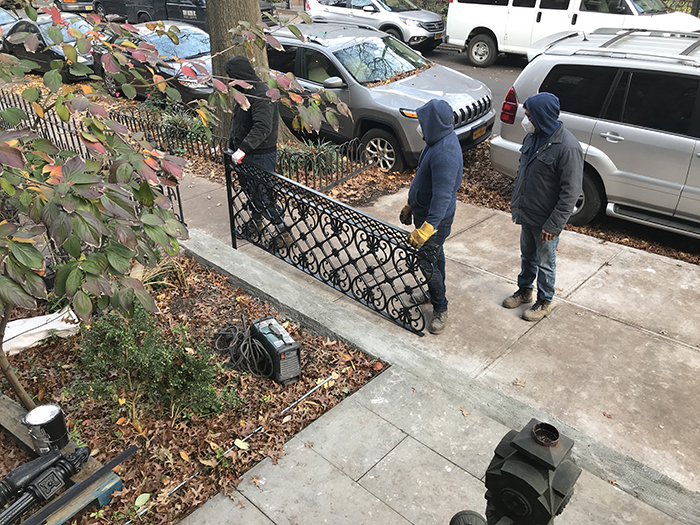
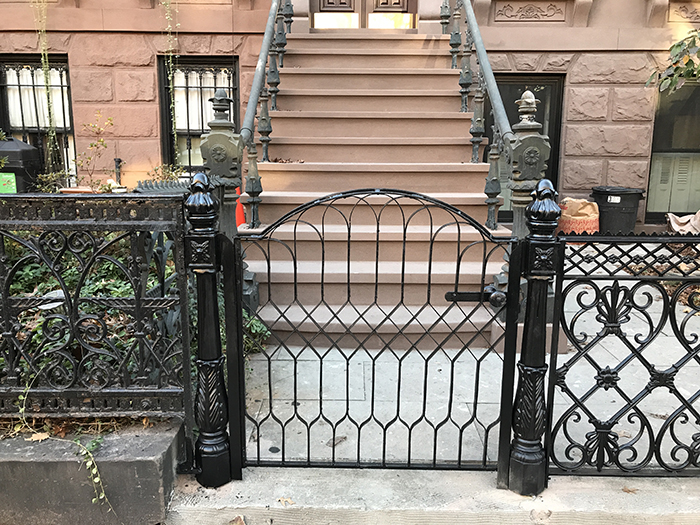
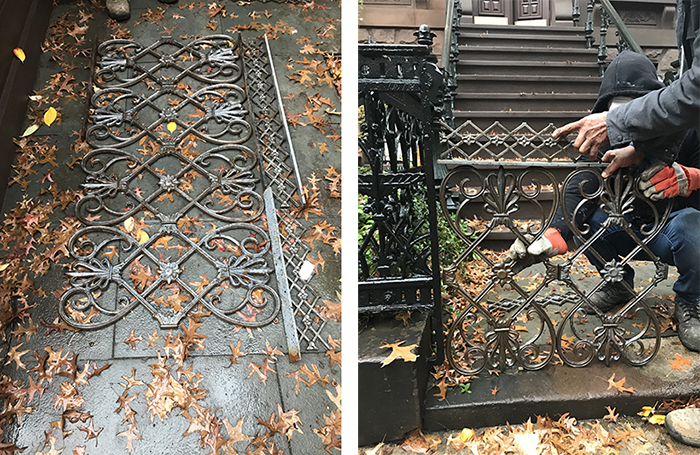
The fence components were welded together in the shop and brought to the site as two large panels.
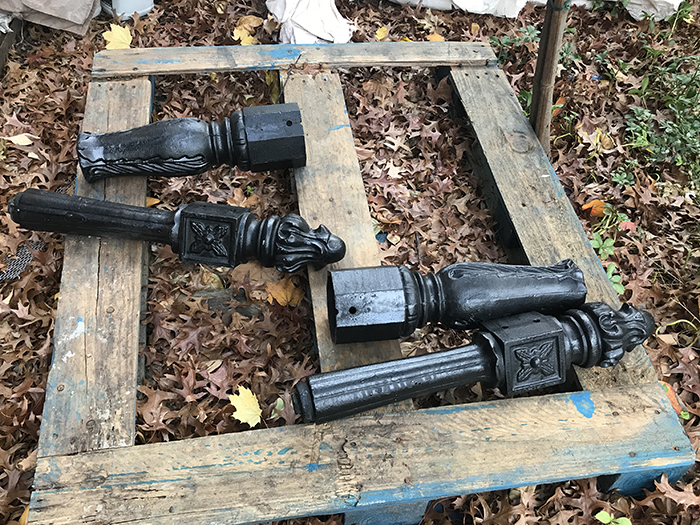
We no longer had the original posts but we were able to find stock posts that resembled the original posts.
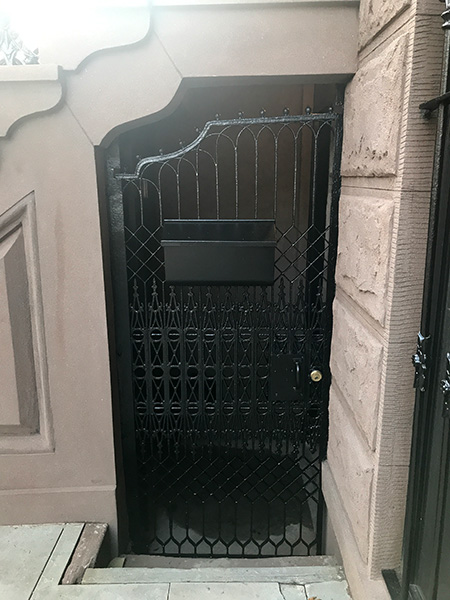
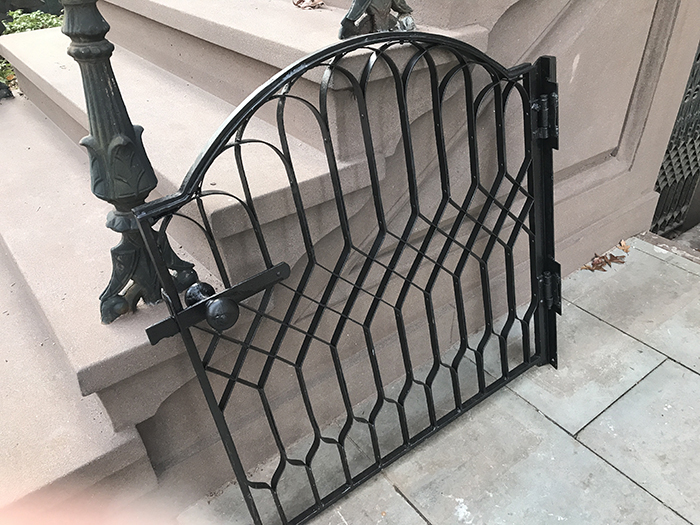
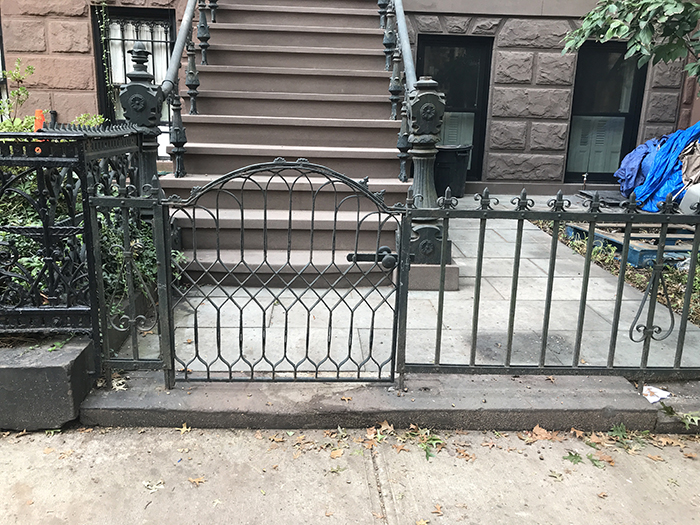
The ironworkers restored the original gate and extended the bottom so that the height of the gate would align with the height of the new fence panels.
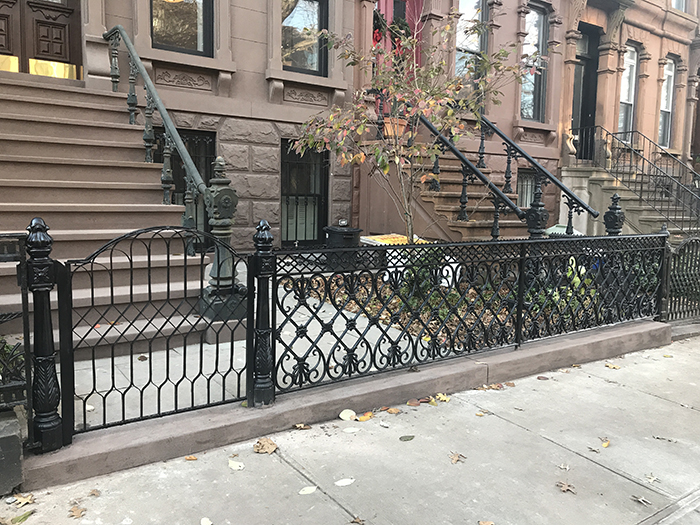
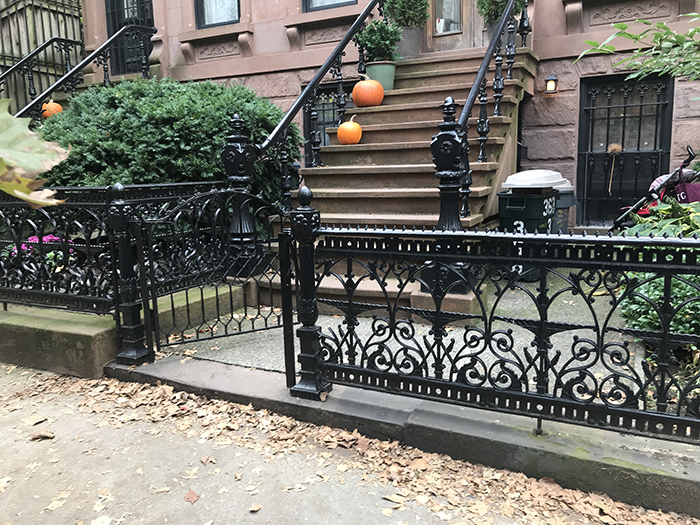
Below are photos of the newly installed iron fence and gate.
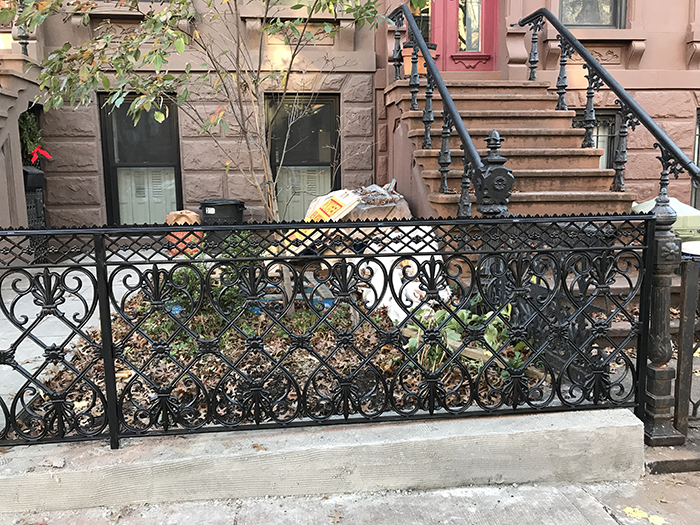
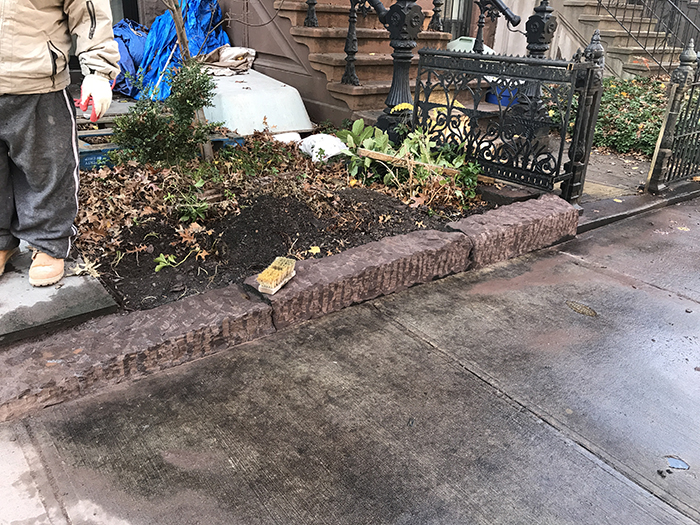
The brownstone finish coat was applied to the retaining wall after the new fence was installed.
The original security bars were repainted and reinstalled at the garden windows. The bottom of the vertical bars were originally embedded directly into the brownstone but the ironworkers welded a horizontal bar at the base so that there would only be 2 anchor points to the brownstone.
The brownstone retaining wall beneath the iron fence was cracked and uneven so the masons repaired it as well. I never liked the existing iron fence and wanted to replace it with something that looked more like the original fence that most of my neighbors have. I still had the original gate but was missing the original posts and fence panels.
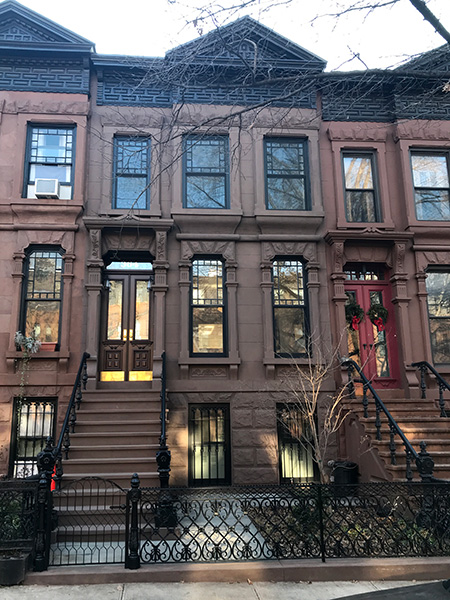
The image below is of my neighbor’s original fence. I hoped to find this exact design in a salvage yard but didn’t have much luck. The ironworkers did find a matching panel, but it was only panel about 2′ wide. It would have been extremely expensive to custom cast new panels to match the originals, so I decided to find stock decorative iron fence panels that would have the same general look and feel. Since my house is not in a Landmarked district, I was able to choose any fence design I wanted.
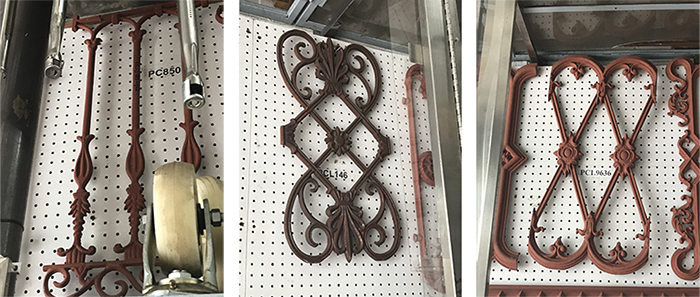
Below are some stock cast iron fence panel designs that I considered.
I wanted to mock up a few panels on site before the ironworkers welded everything together. They brought over 4 panels so that I could see the repeat of the pattern. Although this panel design does not match the original fence design, I thought it looked pretty good.
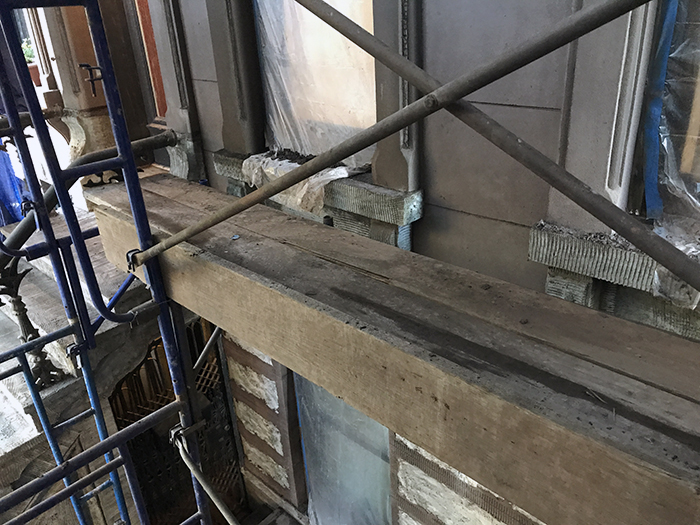
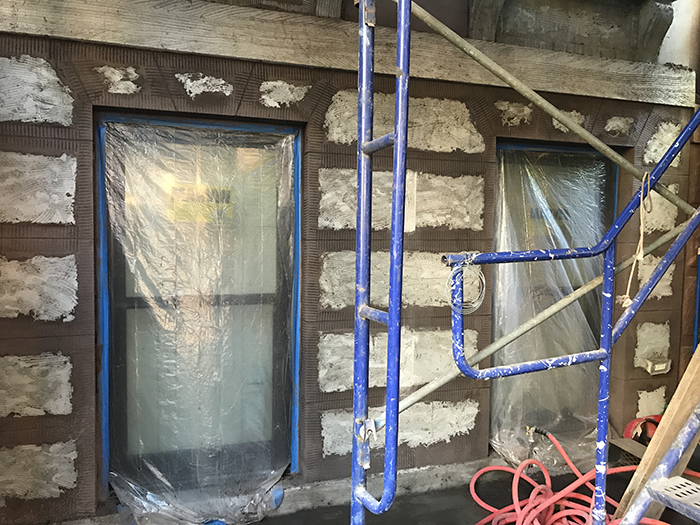
After the metalworkers removed the iron fence, the masons came back to chip off the brownstone retaining wall and apply a new scratch coat. The brownstone finish coat will be applied after the new iron fence is installed.
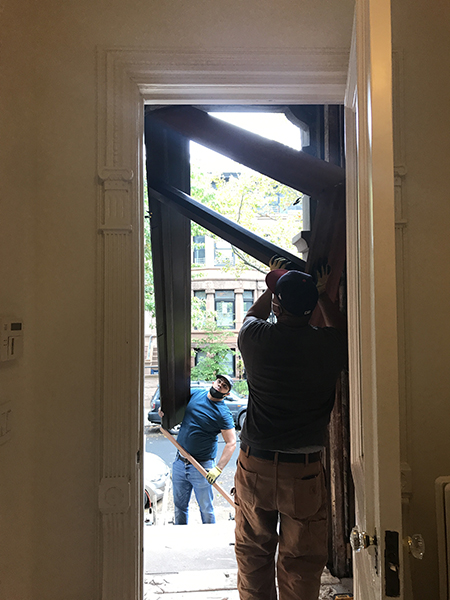
Although the new double doors were installed a few weeks ago, it took up until now to finish all the details associated with the doors.
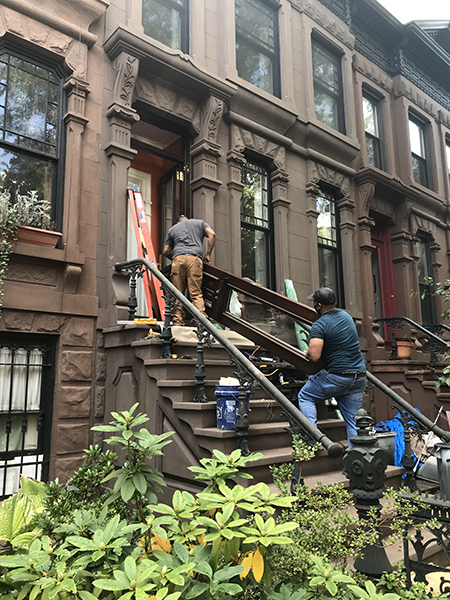
Below are some installation photos.
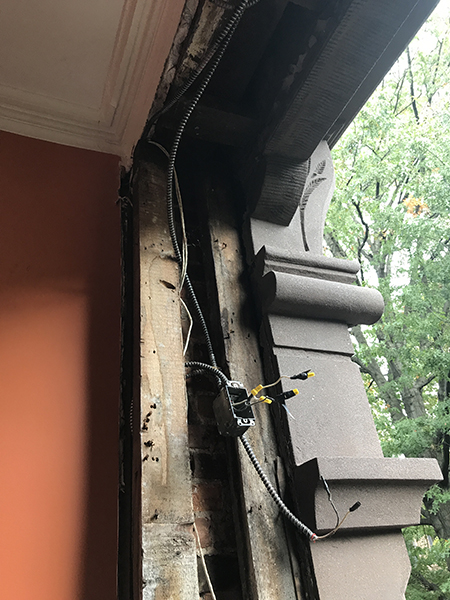
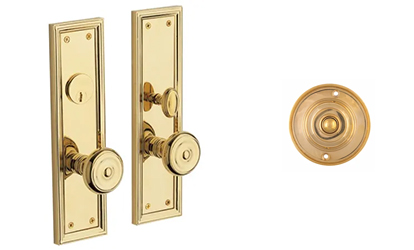
We replaced the sconces and doorbell in the same locations, so we didn’t change out the electrical j-boxes. The cavity behind the door jamb got filled with insulation.
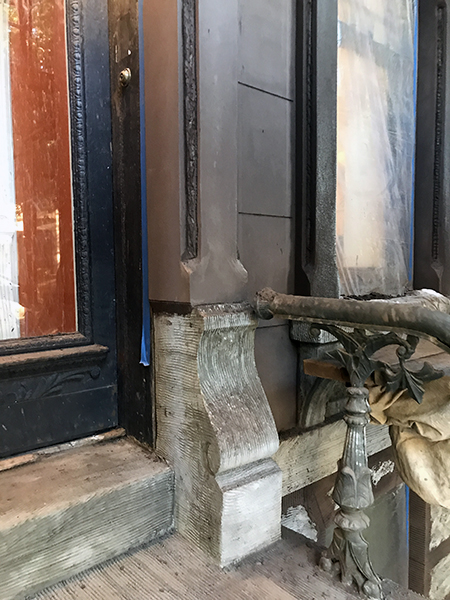
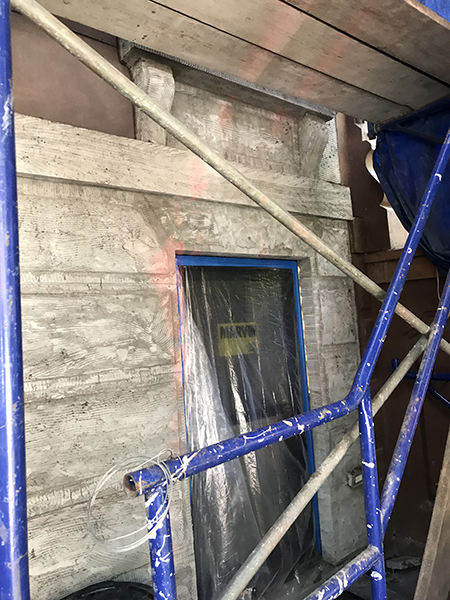
It was difficult to get the door jamb into place and in the process, a chunk of the brownstone at the header chipped off. The masons will come back later to repair the damage. Previously, we had discussed whether the new doors and jambs should be installed before or after the brownstone finish coat. If we had installed the doors first, that may have prevented the brownstone finish coat from getting damaged. However, the acid power wash on the finish coat might have damaged the doors.
Each door is 2′-0″ x 9′-4″ x 2 1/2″ and very, very heavy.
After the doors were installed, there was a noticeable gap between the new door jamb and the edge of the brownstone surface. While the doors were square, the opening was not, which is not a surprise since the house is over 100 years old. We decided that it made more sense to fill the gap with wood trim rather than with brownstone.
The unlaquered brass hardware is very shiny now, but will naturally develop a warm patina over time. There are some chemical products that can help speed up the tarnishing process which I might consider using. At first, I didn’t want to install kick plates because the wood doors look so nice without them, but in the end, functionality won out and I installed kick plates.
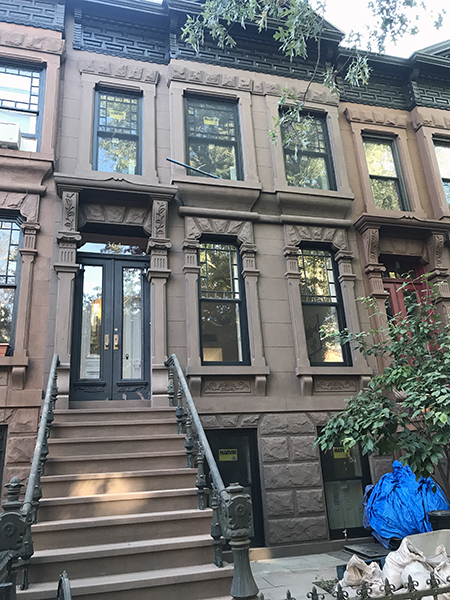
For house numbers, I just ordered a decal from Etsy. It’s obviously not as nice as painted gold leaf house numbers, but from far away, you can’t really tell that it’s just a decal and looks pretty good.
The original white marble door saddle was cracked and very dirty, so we replaced it with a new honed Absolute Black granite saddle. The saddle was just set yesterday, so the installers will come back later to drill in a hole for the door floor bolt.
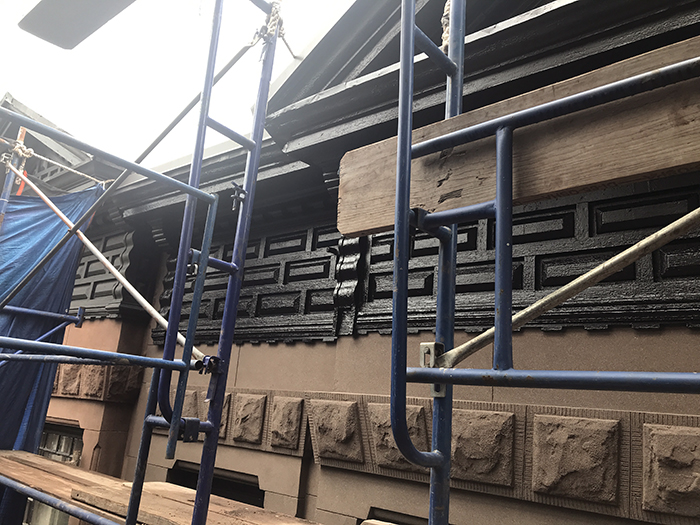
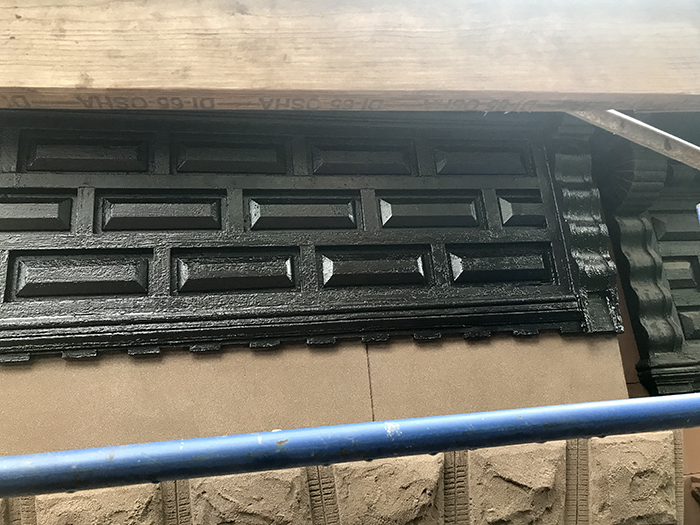
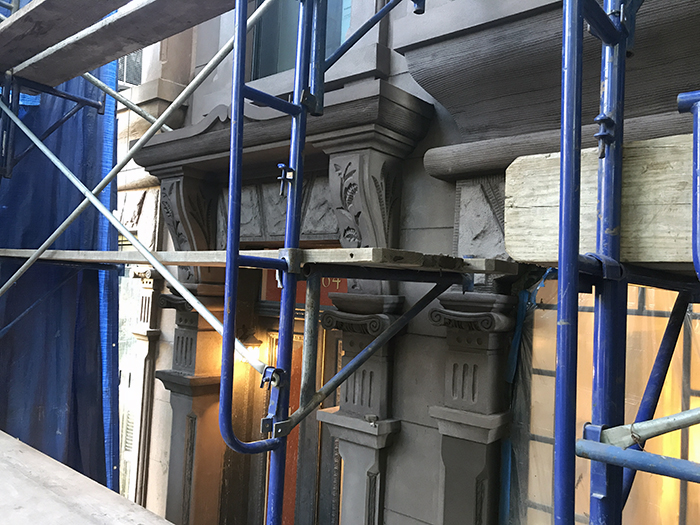
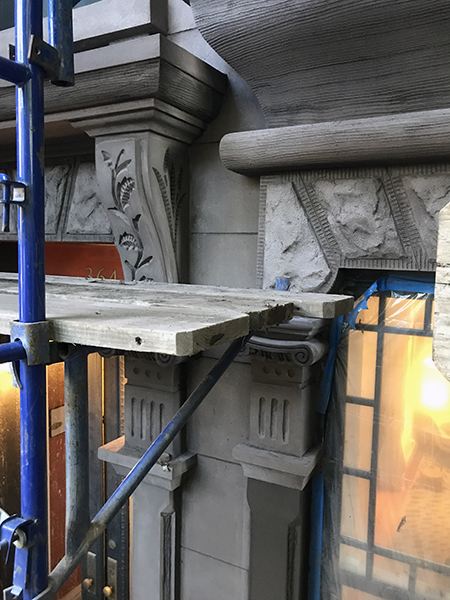
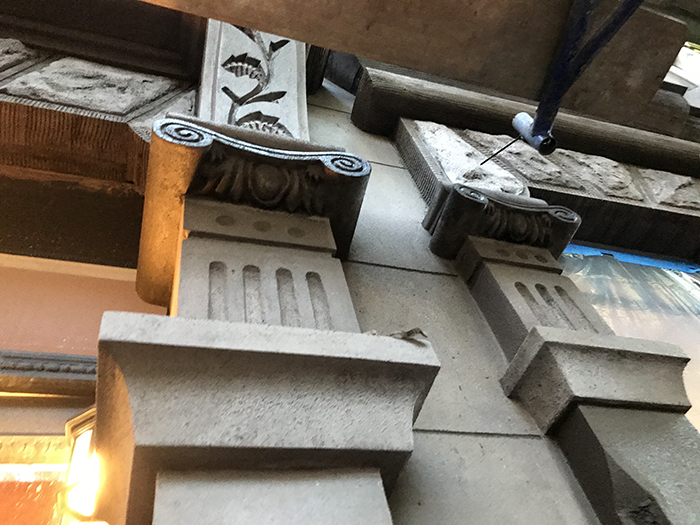
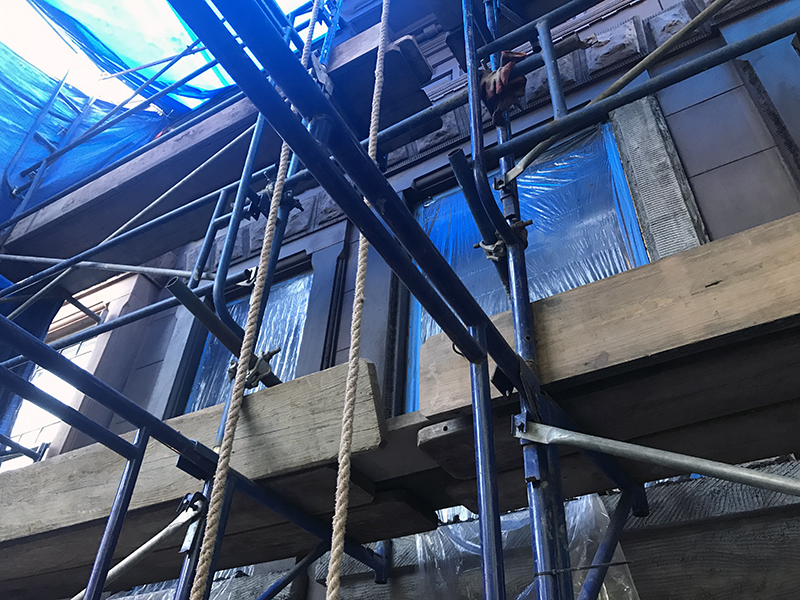
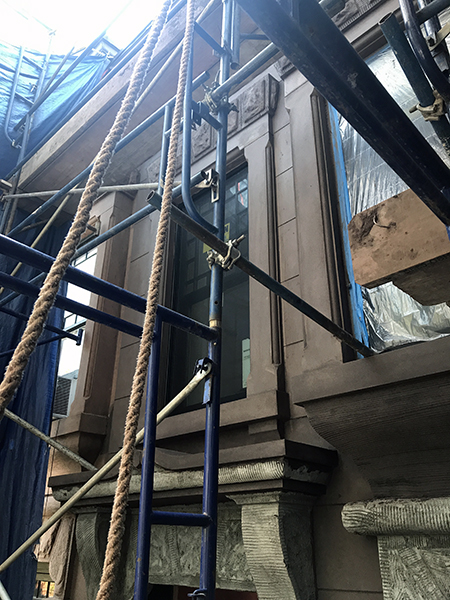
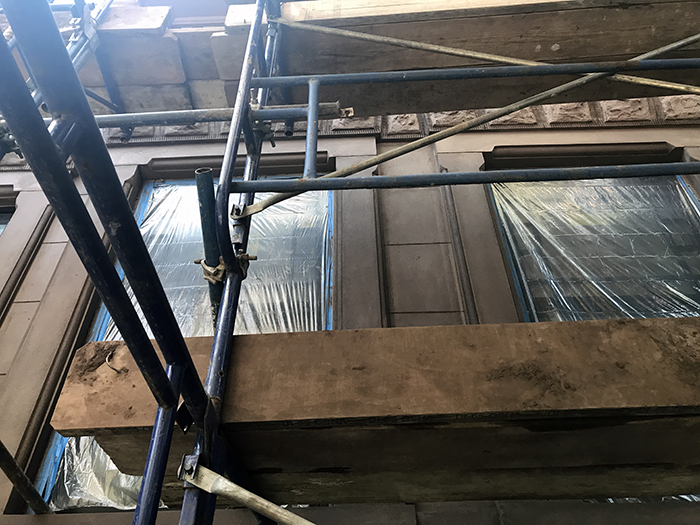
The cornice was previously painted brown but we painted it black to match our neighbors’ cornices. Now that the cornice painting is done, the scaffolding can be removed.
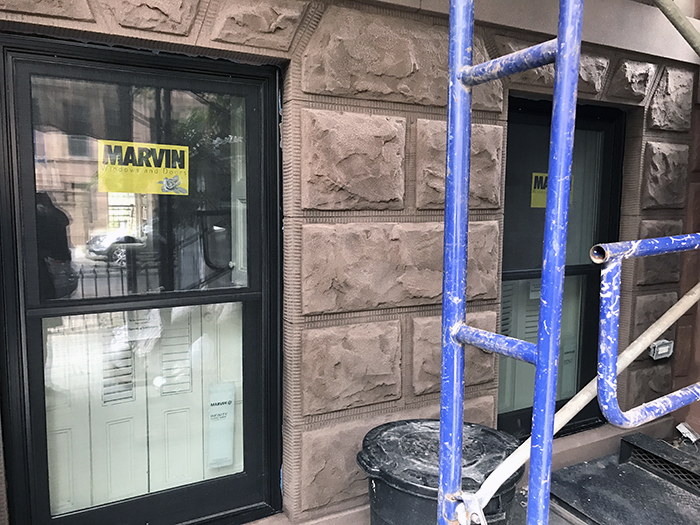
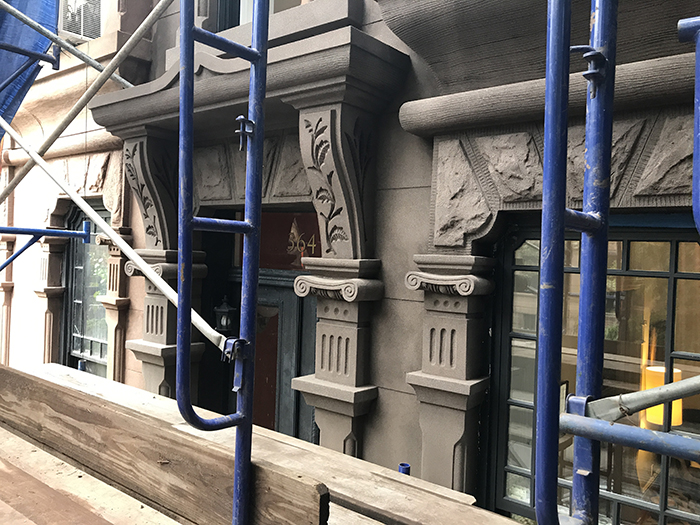
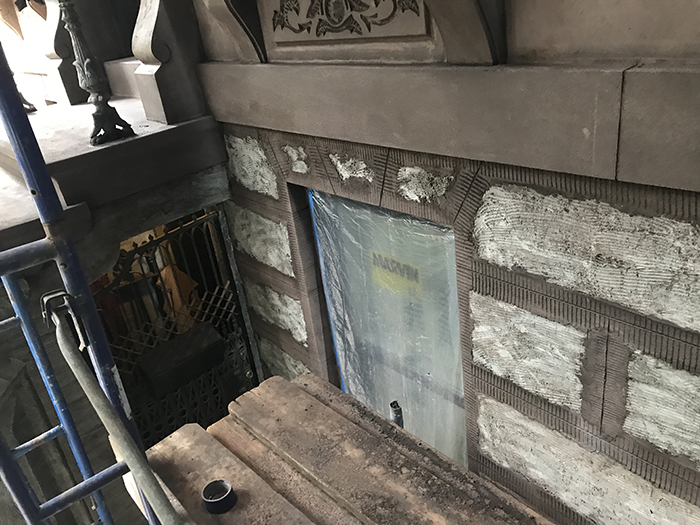
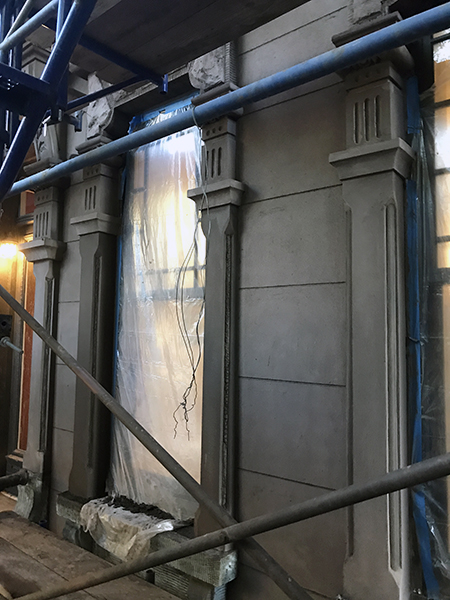
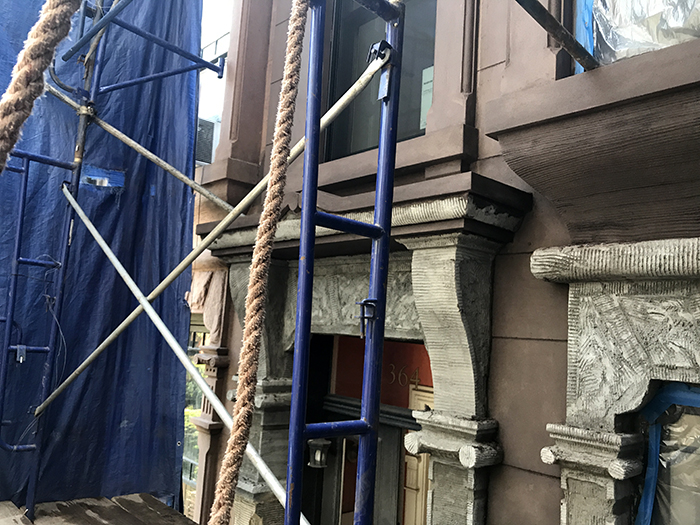
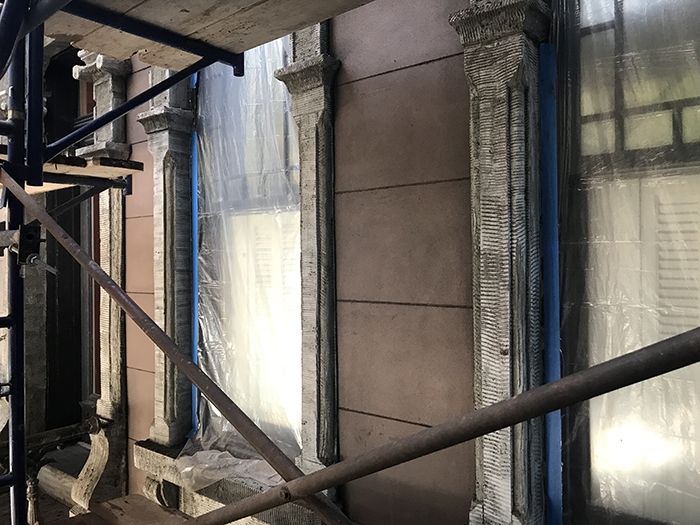
After the application of the finish coat was completed, we had to wait a minimum of 9 days for the surface to dry. Once the finish coat was fully dried, the facade was power washed with a diluted acid solution. The purpose of the power wash was to remove the thin outer layer of the pigmented cement in order to reveal the aggregate and give the surface more depth and texture. Without the power wash, the brownstone finish would have had a flat, painted look. It’s hard to tell from the photos, but after the power wash, the surface gained a sparkliness that made it look more like natural stone.
The window installers will also come back to calk around the windows to seal up the gap between the window frame and the brownstone finish coat.
After a few weeks of waiting, the masons came back last week to work on the finish coat. Contractors typically provide a few color samples for you to review, but I knew what color I wanted and didn’t get a sample. Since my contractor had restored a few brownstones on my block, I selected a color based on reviewing my neighbors’ finished projects. It was easier to select a color when it’s on a whole facade rather than on a small sample patch.